Introduction
The Trial of the Sekhemas is one of several Trials in Path of Exile 2 that stand between you and Ascending. However, clearing this Trial is no small feat! The Trial of the Sekhemas is a complex and punishing piece of content – functioning similarly to a roguelike – and can easily prevent even a veteran player from Ascending!
You will venture through up to 4 floors, and as you progress you will acquire Boons to aid you and Afflictions that drag you down, all while trying to successfully complete each room’s challenges. Dying or taking too many hits will kick you out of the Trial, and force you to start over from scratch!
As the very first Trial you encounter, you’ll want to be able to clear the Trial of the Sekhemas as soon as you possibly can, in order to get a character power boost from Ascending! However, succeeding requires practice, knowledge, and skill – and this guide aims to give you everything you need to know to successfully clear this Trial.
Unlocking the Trial
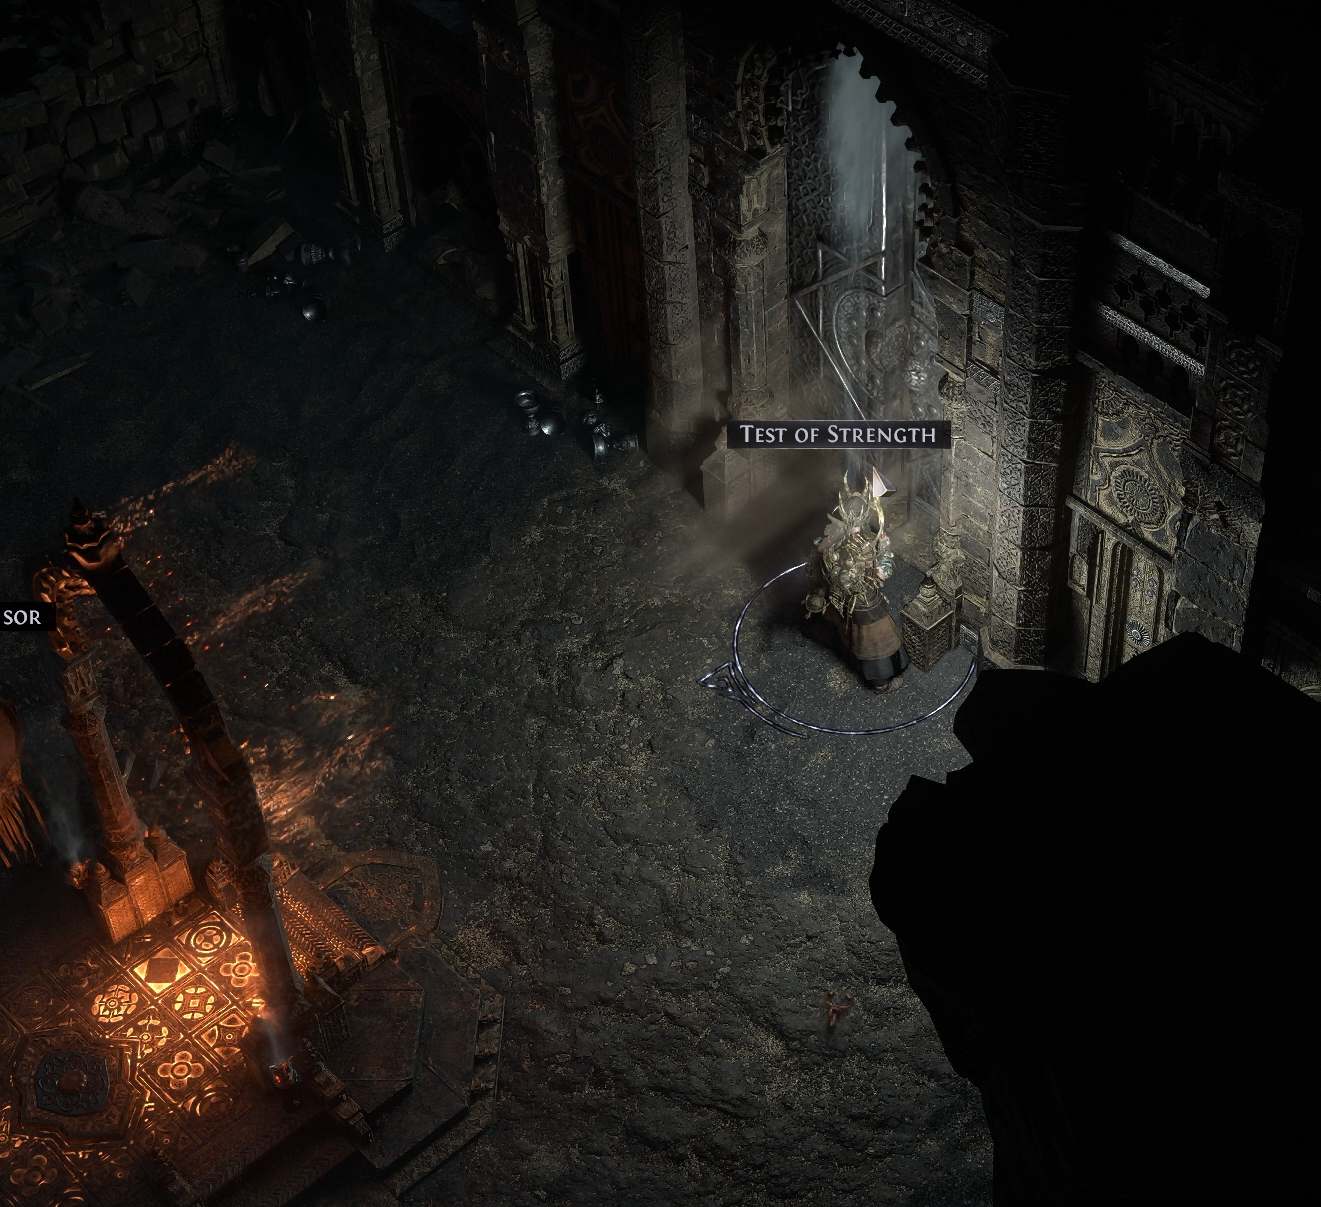
This Trial is unlocked by first defeating the boss “Balbala, the Traitor” in Act 2, as part of the “Ascent to Power” quest. Upon looting the quest item and returning to town, you’ll unlock access to the Trial – and your first chance at Ascending!
Once unlocked, there will be an icon on the right side of the map you can use to teleport to the Trial quickly from any waypoint.
Accessing Trials
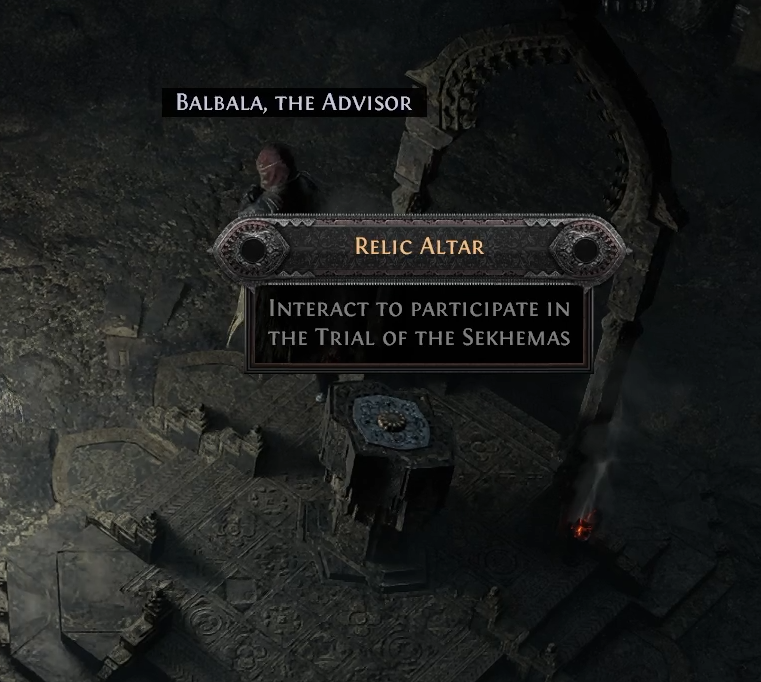
In order to enter a Trial, you need to spend a Djinn Barya coin. You get your first coin as a quest item, which can be used repeatedly until you successfully complete the Trial.
Additional Djinn Barya are obtained as random drops throughout the game. The level of the monster that drops the coin determines the area level of the Trial, as well as how many floors are available, scaling up to 4 floors with a level 75+ coin.
Honour

Honour is an additional pseudo-health bar that you have in this Trial, that tracks damage taken throughout your run. Any time you get hit by a monster or trap, a portion of the damage you take will also be removed from your Honour. Honour persists across rooms in a run, and if you ever reach 0 Honour, your run will end, and you will have to start over from scratch with another Djinn Barya. (You will also have to start over if your character dies to regular damage).
Because Honour loss is a percentage of damage your character takes, you can minimize your Honour loss through defensive stats on your character. Mitigation from resistances and armour, evading, and block will all directly or indirectly reduce the amount of Honour you lose – enabling you to survive significantly longer!
Your starting Honour maximum is the sum of your maximum life and energy shield (and maximum mana, if you have the Mind over Matter keystone). This maximum can be raised through various Boon and Relic effects.
Any effects that cause you to gain additional Maximum Honour inside the Trial will also recover that much Honour – effectively healing you.
Honour Resistance
Some Relics can grant your character Honour Resistance. Honour Resistance functions similarly to regularly resistances – reducing the amount of Honour you lose by a percentage.
Like regular resistances, Honour Resistance has a cap of 75% – though this cap can be increased to 90% through different Relic affixes.
Sacred Water
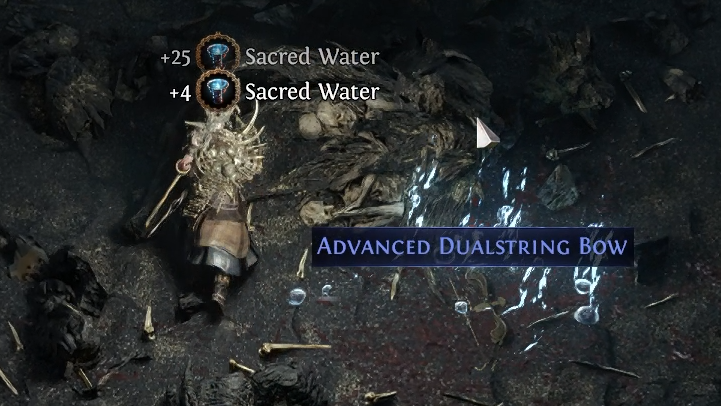
Sacred Water is a form of per-run currency. It is acquired over the course of a run, and can spent on beneficial effects to help you succeed, or cashed in for extra rewards. It does NOT carry over from one run to another — so spend them if you’ve got ’em!
You can acquire Sacred Water from monsters that you kill, and from chests you find. You can also find large quantities of Sacred Water from Sacred Water Fountain rooms and bosses.
Any excess Sacred Water you have at the end of the run can be spent on Relics from the Merchant, or converted to extra keys to open Caches.
Floor Map
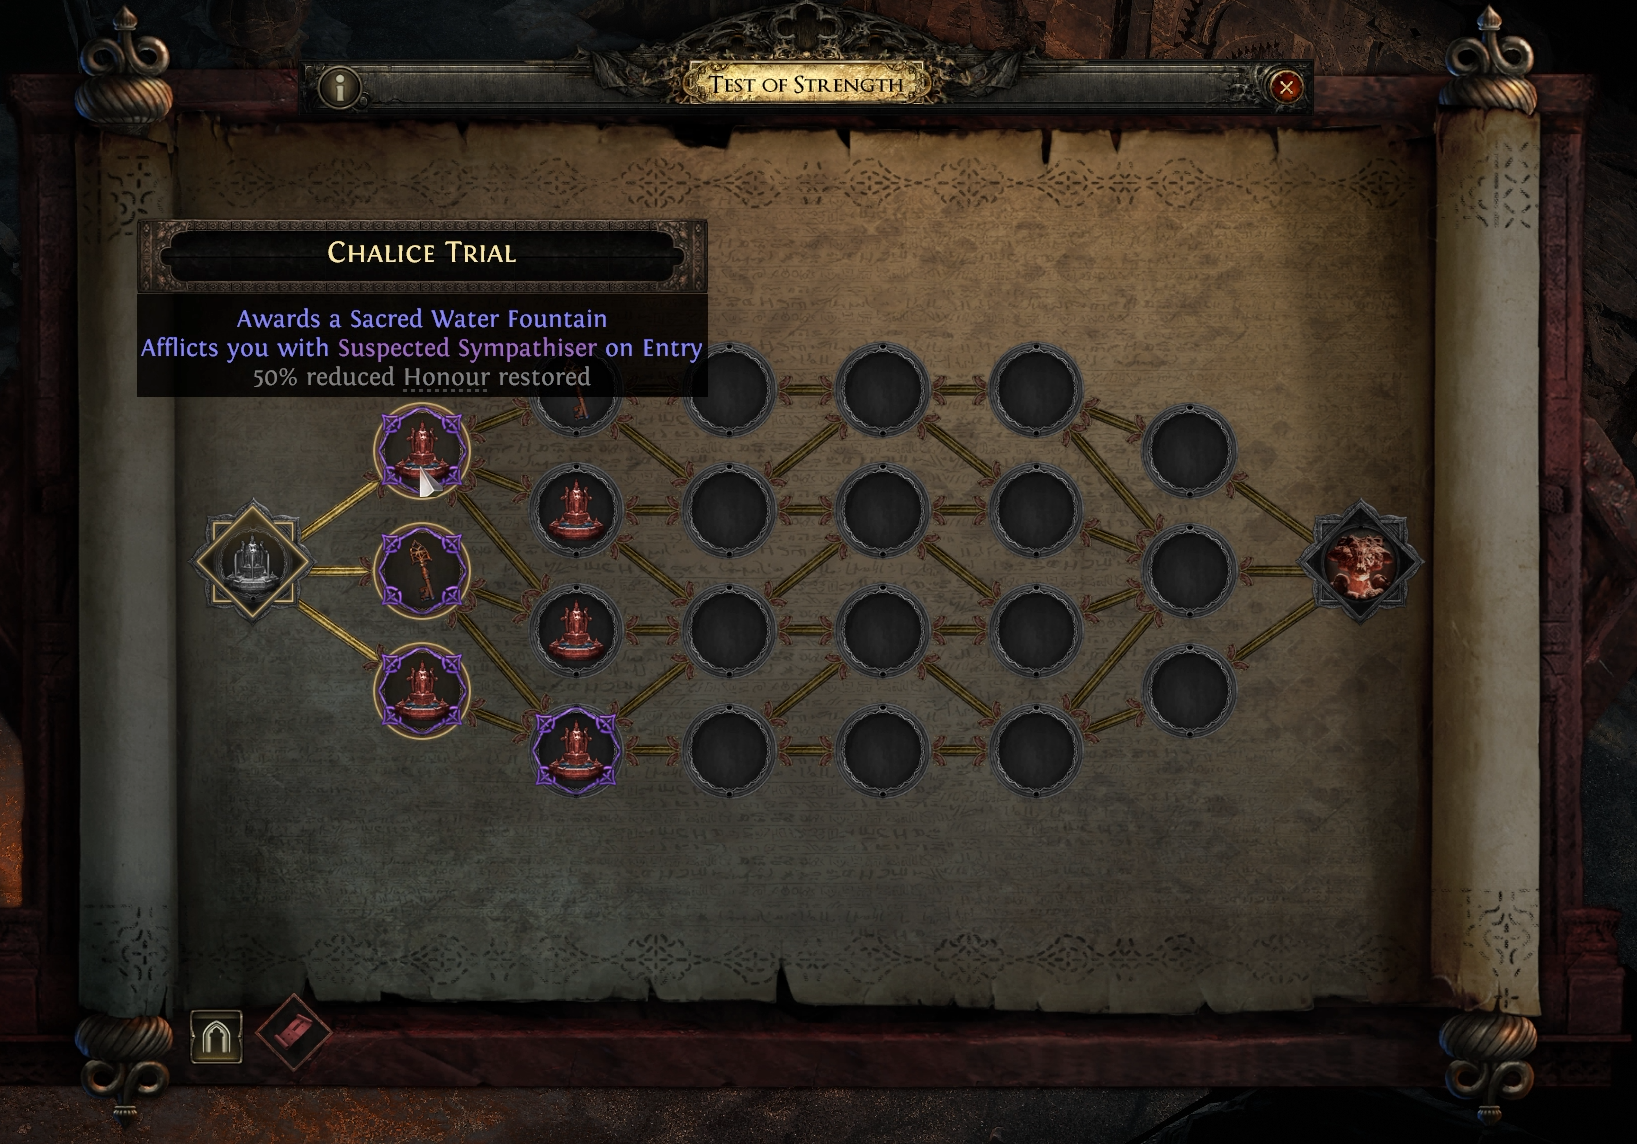
Before entering a room, you will choose which room you want to travel to next, using the Floor Map. This shows all of the rooms on the current floor, the contents and Afflictions for the next two columns of rooms, as well as the connections between every room.
Each floor has 8 rooms, and depending on the area level of the Trial, there can be up to 4 total floors. Each Ascension requires you to clear that many floors – one floor for your first ascension, two floors for your second, and so on.
Note that you can see the connections for every room, even when the rooms’ contents aren’t visible to you. This is important for planning out paths — picking rooms that have multiple connections will give you more choices for future rooms, allowing you to find valuable rooms, and avoid debilitating ones!
Afflictions
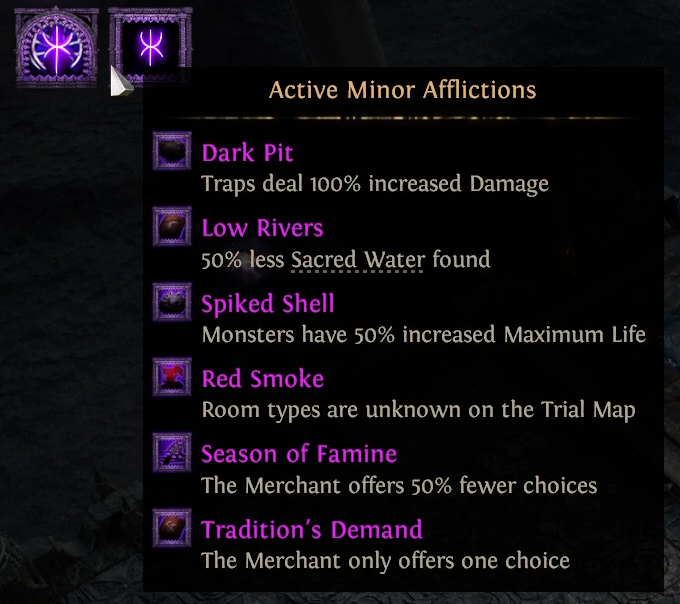
Afflictions are negative penalties that you acquire over the course of a run. They come in both Major and Minor varieties, and they make runs harder in a variety of ways – with some of them being absolutely back-breaking.
The primary way you get minor Afflictions is by entering rooms with Afflictions on them — some rooms will have a purple border on the Floor Map, and list a specific affliction that you will get upon entering that room. Sometimes, you will simply be able to avoid entering a room with a bad affliction, but oftentimes entire columns of rooms will have Afflictions — meaning you simply have to pick the least bad outcome.
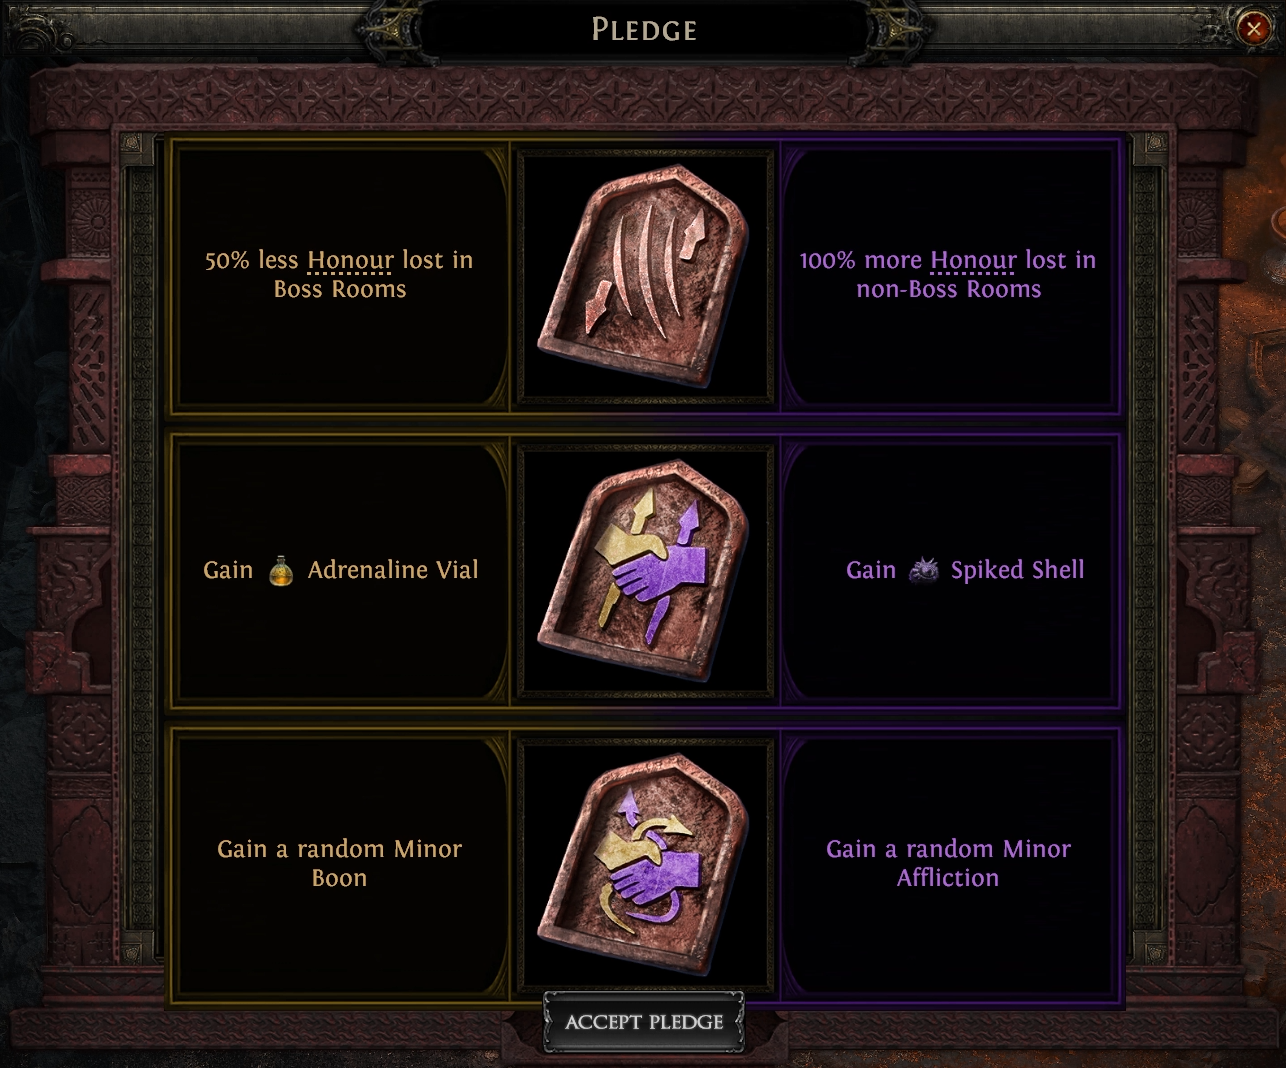
Major Afflictions primarily come from accepting Pledges. You can see what Affliction you will be getting ahead of time, and have the option to pass. As a result, Major Afflictions are always skippable — you have to opt-in to getting one.
Important note: You cannot have duplicates of the same Affliction. This means that as you acquire more and more Afflictions, the pool of possible Afflictions srhinks, making it harder and harder to avoid the back-breaking Afflictions that will end your run.
Boons

Boons are positive bonuses that you acquire over the course of a run. They come in both Major and Minor varieties, and range from extremely beneficial, to completely worthless.
You can acquire Boons from a variety of sources: Merchants, Pledges, and Balbala/Tabina Shrines. Most of the time you will simply get a random Boon — but the Merchant and some Pledges allow you to hunt down specific, powerful Boons that can change the course of your run.
Reward Types
Each room has an icon on it on the Floor Map, indicating the reward you will get for successfully completing that room. The Reward Types are:
 Sacred Water Fountain
- Grants Sacred Water
 Grand Sacred Water Fountain
- Grants a large amount of Sacred Water
 Shrine – Honour Tabina
- Costs 5 Sacred Water
- Restores 10% of max Honour
 Shrine – Honour Balbala
- Costs 5 Sacred Water
- Restores 10% of max Honour
- Grants a random Boon
 Shrine – Honour Ahkeli
- Costs 5 Sacred Water
- Restores 25% of max Honour
- Grants a random Minor Affliction
 Shrine – Honour Tabina
- Has the description “Bestows the fickles blessings of the wind” with no further explanation on the Floor Map
- Costs 5 Sacred Water
- Restores 50% of max Honour
- Grants a random Boon
- Cleanses a random Affliction
 Merchant
- Spend Sacred Water on Boons and Relics from a small selection
 Pledge to Kochai
- Grants powerful beneficial effects… at a cost
- If you take a Pledge, you gain access to the associated reward reward — but you can’t see the contents of the Offer on the Floor Map
- Many Pledges grant random Afflictions – making them incredibly risky propositions
 Keys
Keys
- Grants a Bronze/Silver/Gold Key (as indicated)
- These keys can be spent on Caches at the end of Floors for various rewards
 Caches
- Contains a random Bronze/Silver/Cache, which can be opened with the corresponding key for rewards
Objective Types
Each Room on the Floor Map has a name, indicating the objective of the Trial in that room. There are 5 Objective types, each having different room layouts, and testing you in a different way.
Chalice Trial
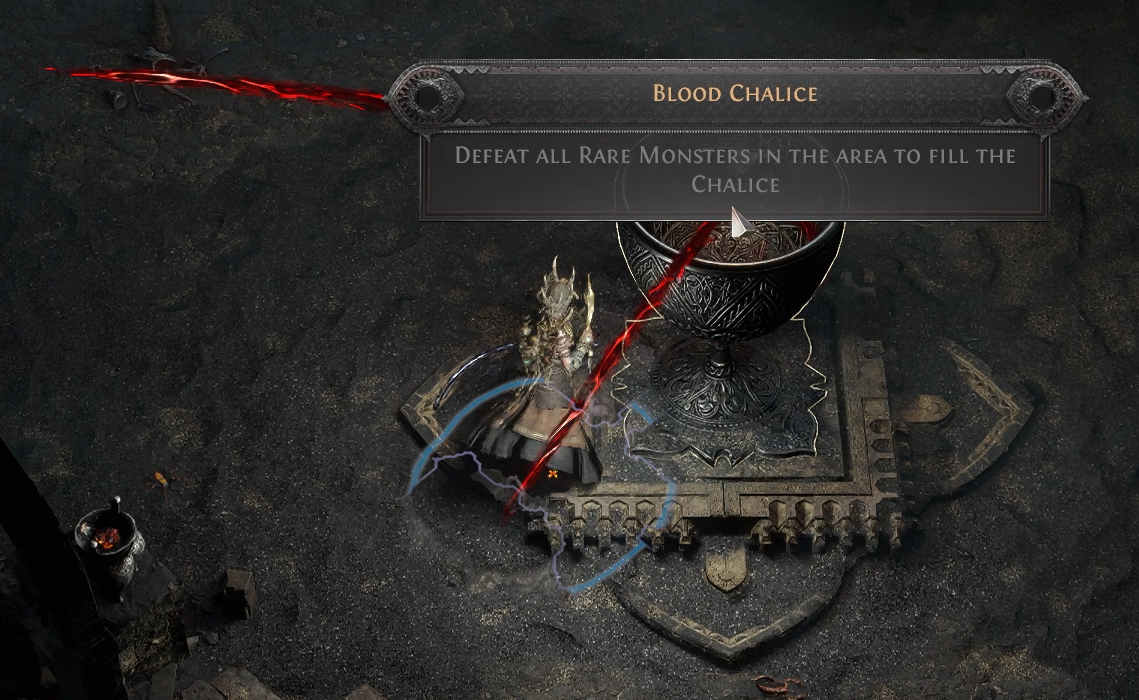
Objective: Defeat the Rare Monsters
One of the fastest and easiest trials, the Chalice Trial simply tasks you with killing all the Rare monsters in a small area.
Pay attention to the streaks of light that escape the Chalice when you click it – they point towards the locations of the Rare monsters, so you don’t have to hunt them down!
Escape Trial
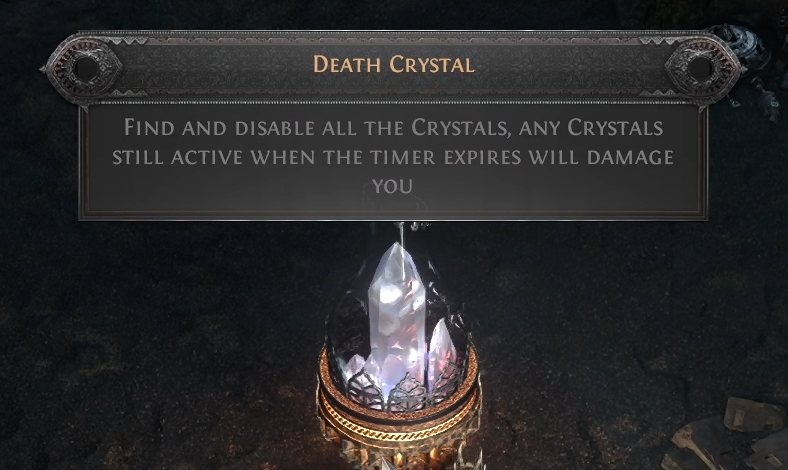
Objective: Disable the Crystals
In this trial, you need to run through a small zone, clicking every Crystal before the timer runs out. Each Crytal you click will extend your remaining time, and if you fail, you will take damage for each remaining Crystal.
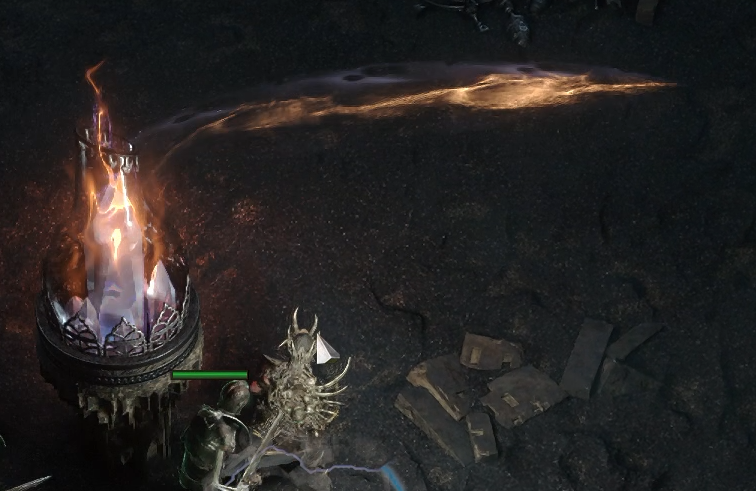
Pay attention to the streaks of light that come out of each Crystal when you disable them – these point towards the closest Crystals. Following these streaks of light from one Crystal to the next enables you to clear this trial with plenty of time to spare!
Gauntlet Trial
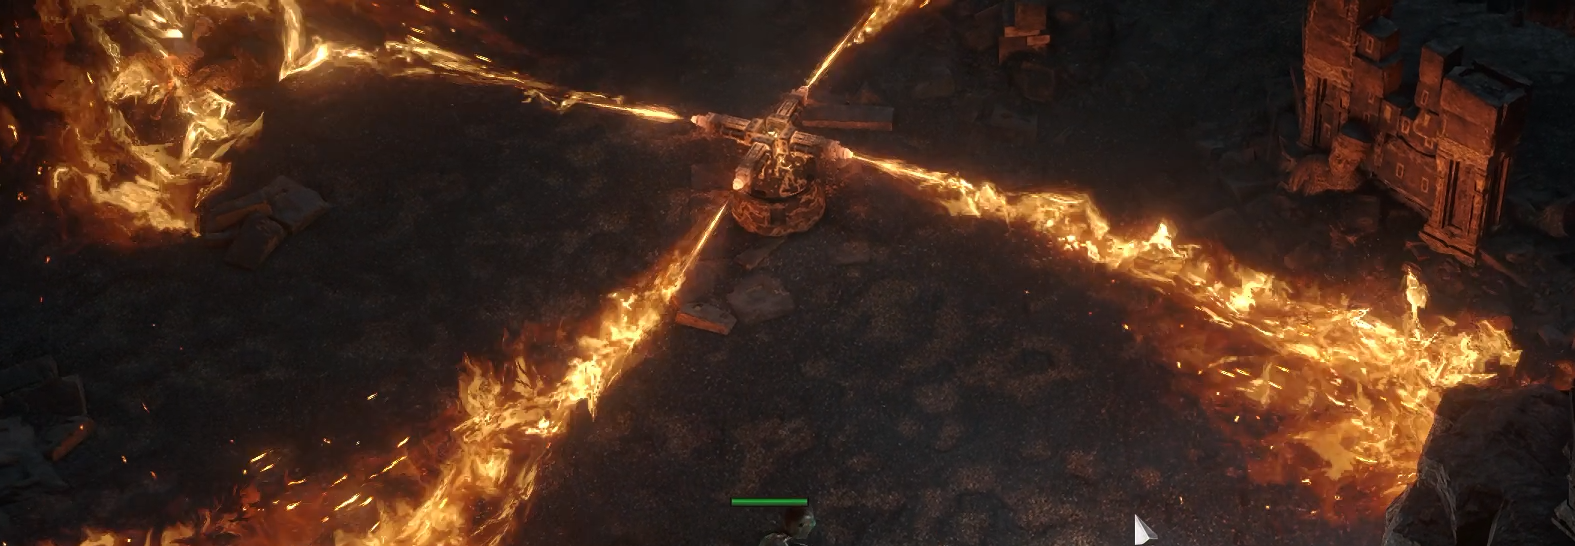
Objective: Find the Exit
The slowest and potentially trickiest of all the objectives, the Gauntlet Trial tasks you with progressing through long puzzle rooms, flipping switches and dodging traps. Due to their length and danger level, you should try to avoid picking Gauntlet Trials on the Floor Map, all else being equal.
Note that most traps can be safely dodge-rolled through without taking damage – use this to your advantage to clear these rooms far quicker, without having to stop and wait for traps!
Hourglass Trial
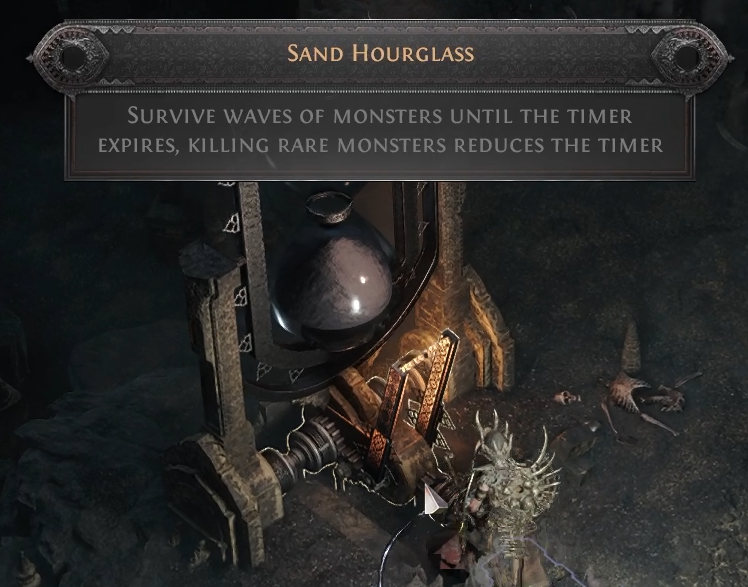
Objective: Survive
This room swarms you with monsters, tasking you with surviving until the timer runs out. With the massive numbers of enemies that spawn, it can be very easy to take small hits here and there as you wait for the timer.
Each Rare you kill significantly reduces the remaining timer; this is the trick to clearing this room easily. Killing 3-4 Rare monsters will end the encounter immediately, and is often far safer than trying to kite enemies around for several minutes!
Ritual Trial
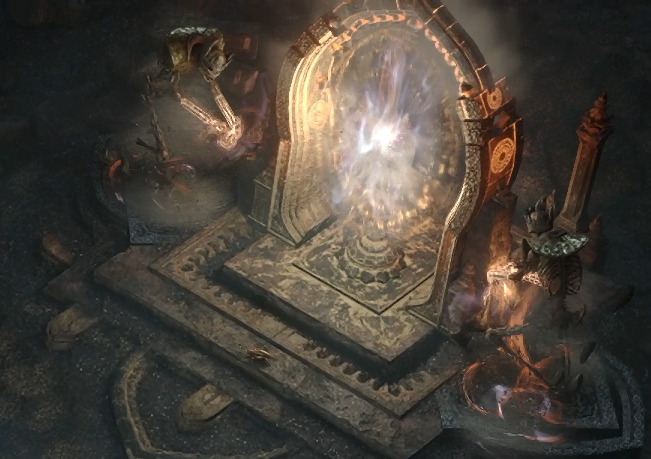
Objective: Defeat the Ritual Casters
This room tasks you with killing a few monsters who are summoning infinitely, spawning hordes of monsters out of portals.
These rooms are often small, and the Ritual Casters die incredibly fast, making this room quick and trivially easy compared to all the other objectives. Focus on Ritual rooms if you can, for quick and easy clears!
Relics & Relic Altar

Relics are an item type specific to Trial of the Sekhemas, and can be slotted into a Relic Altar, to give yourself beneficial effects during your Trial runs. Inside the Trial, they drop off monsters, are found in chests, and can be purchased from the Merchant. The collection and upgrading of Relics serves as a form of meta-progression for this Trial. The more and better Relics you have, the easier your Trials will be!
There is a Relic locker to store your Relics, and excess Relics can be stored in normal stash tabs or traded to other players.
Relics come in one of three sizes: Small (2 slots), Medium (3 slots), and Large (4 slots). The affixes available on relics are different for each size of relic, with more powerful affixes available only on larger Relics.
Relic Altar
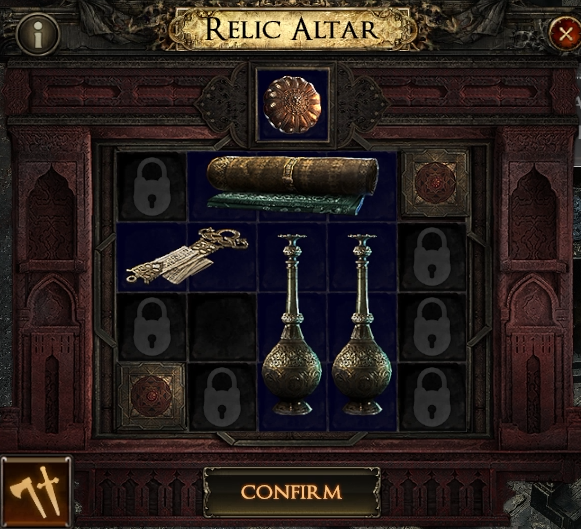
The Relic Altar is accessed at the entrance to the Trial, and is where you slot in your Relics to gain their effects. You have a limited amount space to place your relics in, and have to puzzle out how to fit your Relics into the space available.
When you first unlock the Altar, not all the slots will be available to you. You unlock additional slots by completing each Floor for the first time, and by opening specific types of Caches. You can hover over a locked slot to see what objective you need to complete to unlock that slot.
Your Relic Altar is locked-in when you begin a new run, and cannot be changed in the middle of a run.
Unique Relics
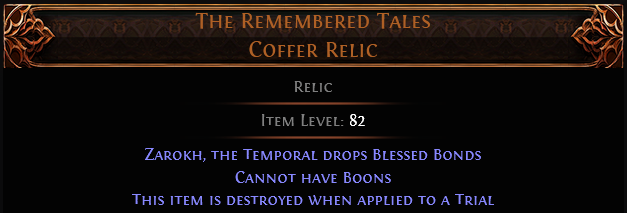
The final boss of the 4th Floor – Zarokh, the Temporal – can drop Unique Relics. Unlike regular relics, these Relics modify the Trial by making it harder, but give additional rewards. Each Unique Relic can only be used for a single Trial, and is destroyed when that run ends.
Rewards
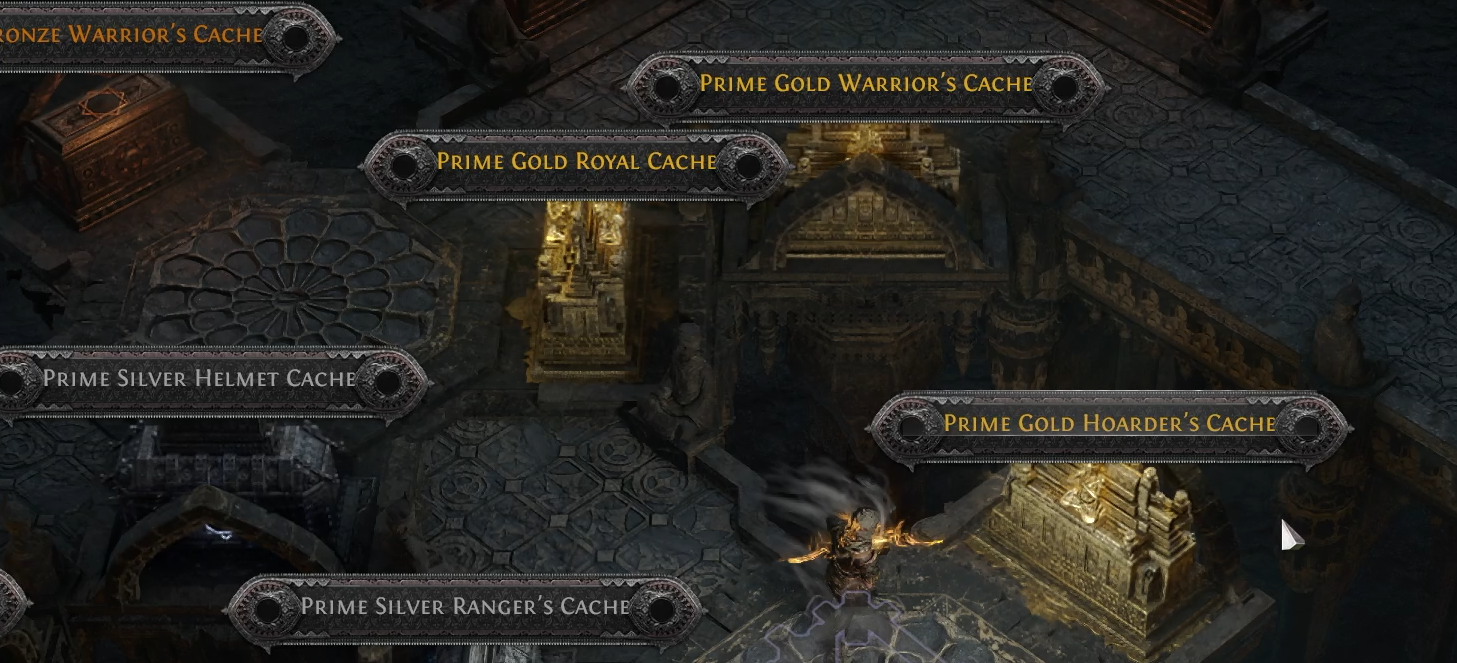
You earn more than just Ascendancy points for completing the Trial. All monsters within the Trial can drop loot as normal, but the primary rewards come in the form of Caches at the conclusion of each Floor.
These caches come in a number of varities and tiers – from Bronze to Gold. Bronze chests will contain only a few items, scaling up to Gold chests which contain a lot of items. Additionally, Caches from Floors 2 and on can be “Superior” or “Prime”, which grant additional item rarity for the same key cost.
In order to open a Cache, you must use a key of the matching color that you earned along the way.
Cache Types
- Warrior’s/Mage’s/Ranger’s Cache
- Melee/Caster/Ranged weapons
- (Item Slot) Cache
- Items of the specified item slot
- Royal Cache
- Standard jewels
- Time-lost Cache
- Time-lost jewels
- Gold Spectrum Cache
- Grand Spectrum unique jewel
- Small/Medium Relic Cache
- Relics of the specified type
- Mysterious Cache
- Gold and random items
- Cartographer’s Cache
- Waystones
 Druid
Druid Huntress
 Mercenary
 Monk
Monk Ranger
 Sorceress
 Warrior
 Witch
Witch
